Fluffy DASH Whole Wheat Buttermilk Pancakes (The Weekend Stack You Need)
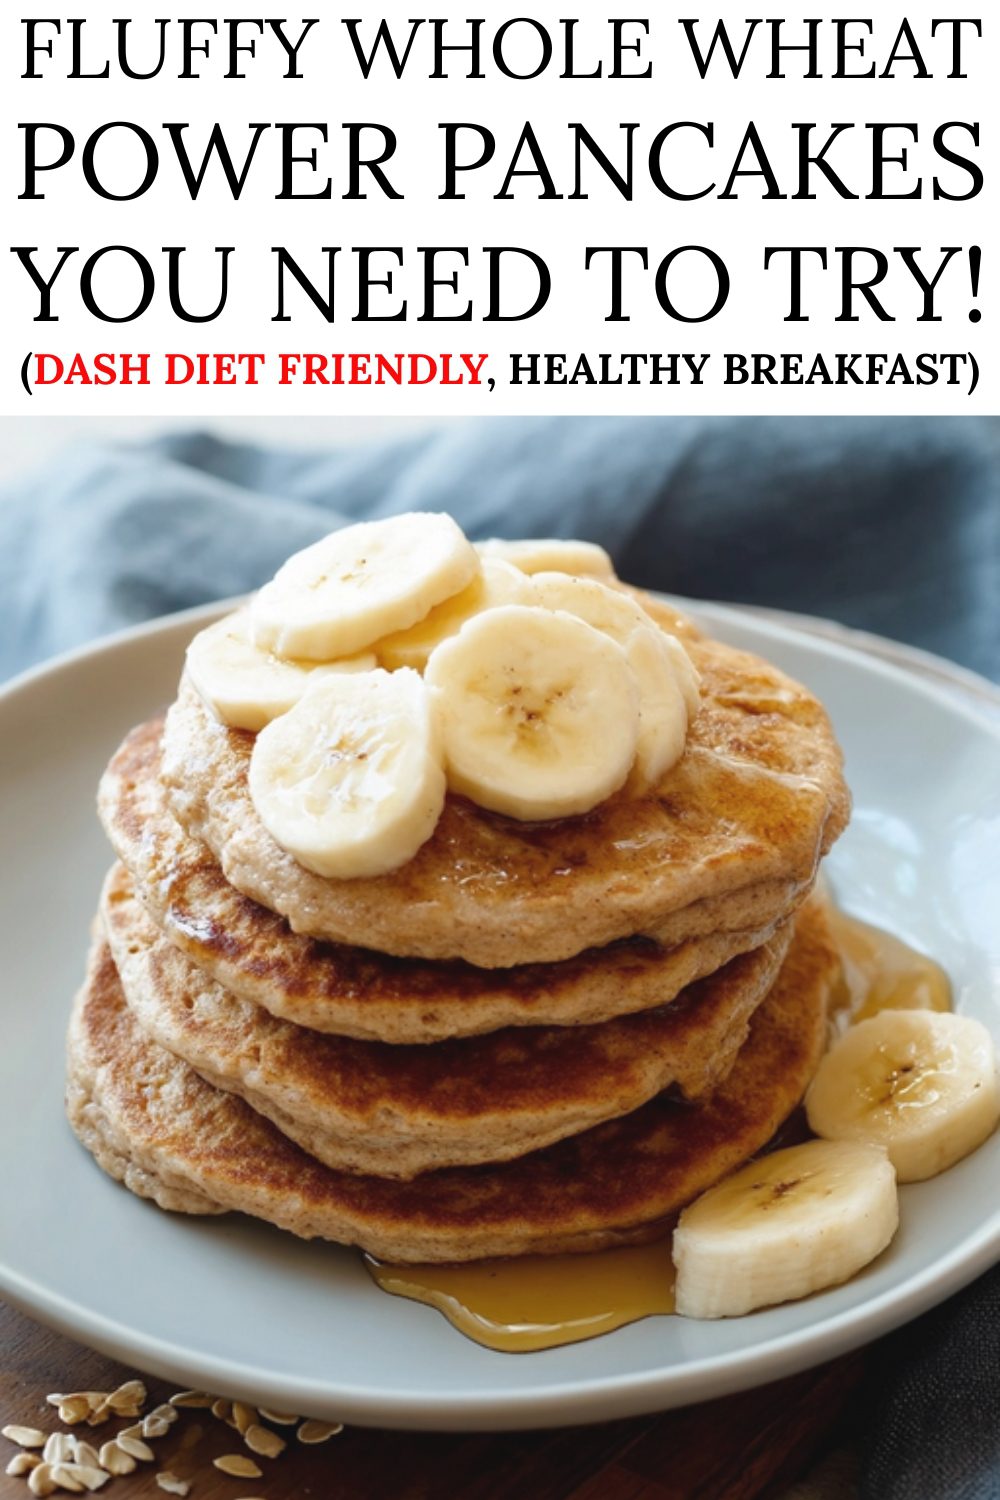
Finally, a pillowy, golden stack that banishes the “dense health food” stereotype forever. These whole wheat buttermilk pancakes use a clever vinegar hack to create a tender crumb that rivals any diner classic, making your morning feel indulgent while keeping things wholesome.
Why You’ll Obsess Over This Stack
- Impossible Fluffiness: The reaction between our quick homemade buttermilk and baking soda creates an airy rise that keeps every bite light and tender.
- Rich, Nutty Depth: Unlike plain white flour, whole wheat brings a warm, comforting flavor that pairs perfectly with the hint of cinnamon.
- Pantry-Friendly Magic: No need to run to the store for buttermilk—a simple splash of vinegar in milk does the trick instantly.
A Wholesome Morning Ritual
I know the struggle of wanting a cozy, syrup-drenched breakfast but not wanting that heavy, sluggish feeling afterward. That’s why I love this recipe. It fits seamlessly into a DASH-friendly lifestyle by prioritizing whole grains and heart-healthy fats, yet it tastes purely like comfort.
For a complete brunch spread that feels fancy but takes minutes, I love serving these alongside The Ultimate 5-Minute Bright Morning Greek Yogurt Granola Parfait. The cool, creamy yogurt is the perfect contrast to the warm pancakes.
How to Make Them
Create the “Buttermilk”: Start by mixing your non-fat milk with apple cider vinegar. Let it sit for a few minutes until it curdles slightly. This acidity is the secret weapon for tenderizing the whole wheat flour.
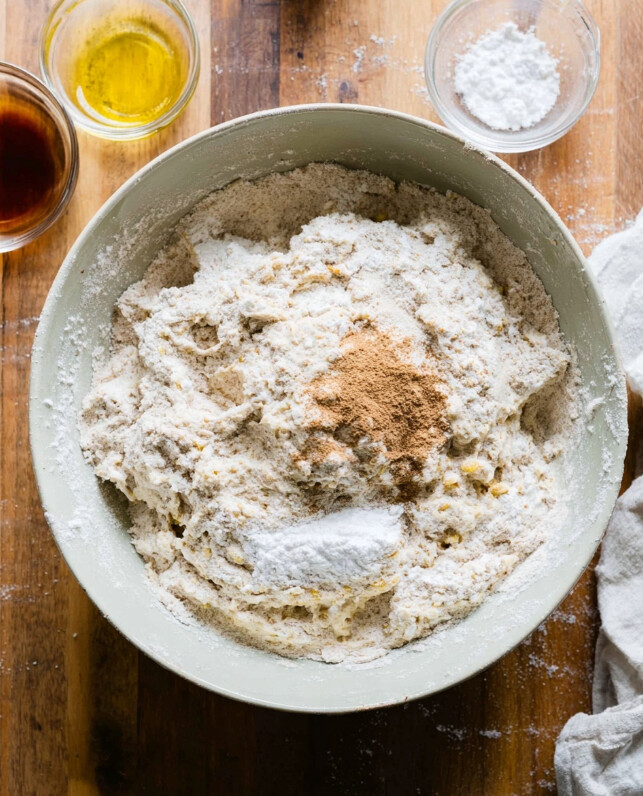
Whisk the Dry Goods: In a large bowl, combine the flour, flaxseed, baking powder, baking soda, and cinnamon. Giving this a good whisk ensures the leavening is spread evenly for a consistent rise.
Combine and Cook: Whisk the eggs, syrup, oil, and vanilla into your milk mixture, then pour it into the dry ingredients. Fold gently—lumps are good here! Cook on a hot griddle until bubbles form and the edges set, then flip for that golden finish.
Tips for the Perfect Bite
- Don’t Overmix: When combining wet and dry ingredients, stop as soon as the flour disappears. Overworking the batter makes pancakes tough rather than fluffy.
- Watch the Heat: Whole wheat can brown a bit faster than white flour. Keep your heat around medium to ensure the inside cooks through before the outside burns.
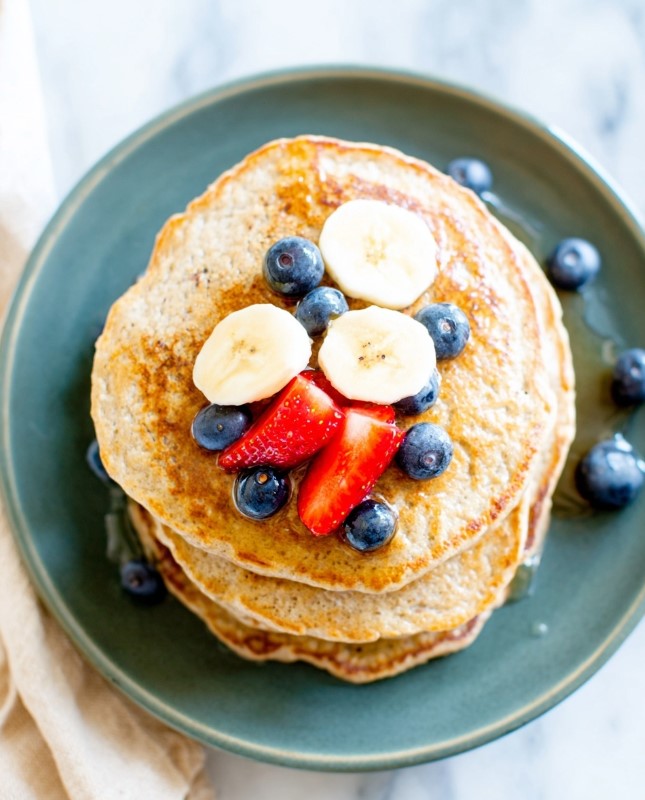
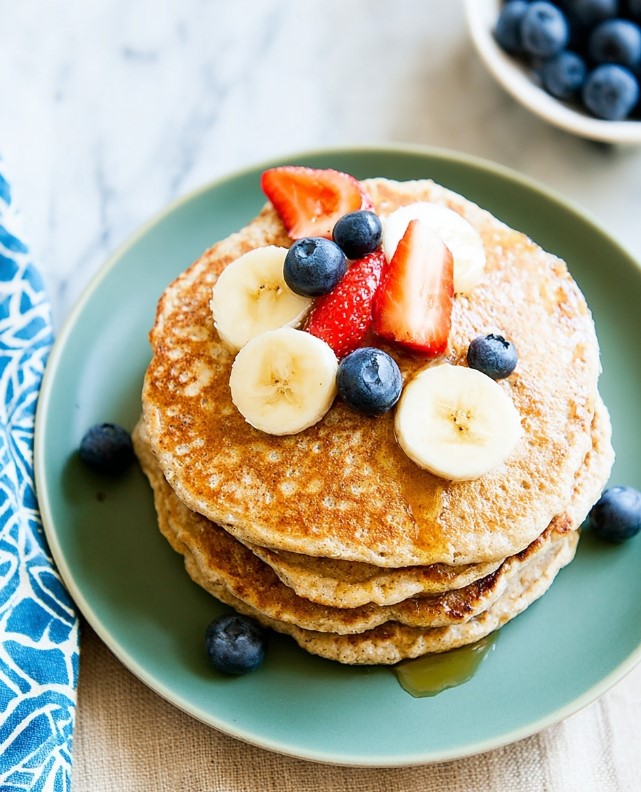
- Serving Suggestions: I love these topped with fresh berries and bananas. If you are watching your sugar intake but still crave that classic diner vibe, try drizzling them with this easy, sugar-free maple syrup.
- Beverage Pairing: Need something refreshing to wash it down? This Keto Low Carb Smoothie With Almond Milk is a creamy, hydrating option that won’t weigh you down.
Common Questions
Can I freeze these?
Absolutely! I often make a double batch. Let them cool completely, stack them with parchment paper in between, and freeze. They pop right into the toaster for a quick weekday breakfast.
Do I have to use white whole wheat flour?
I prefer white whole wheat because it has a milder taste and lighter texture, but regular whole wheat flour works just fine. The flavor will just be slightly nuttier and heartier.
Fluffy Whole Wheat Buttermilk-Style Pancakes
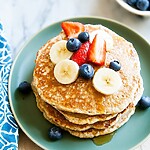
Wake up to a cozy stack of fluffy whole wheat pancakes that taste like a weekend treat any day of the week. Made with white whole wheat flour, flaxseed, skim milk and a touch of real maple syrup, they cook up tender, golden and lightly scented with cinnamon. This lighter twist fits easily into a DASH-friendly eating pattern and is perfect piled high with fresh berries or sliced banana for a satisfying, feel-good breakfast.
- Prep Time: 15 minutes
- Cook Time: 25 minutes
- Total Time: 40 minutes
- Yield: 7 servings 1x
- Category: Breakfast
- Cuisine: American
Ingredients
- 2 cups 240g white whole wheat flour (or regular whole wheat flour)
- 2 tablespoons 14g ground flaxseed meal
- 1 tablespoon 14g sodium-free baking powder (potassium-based)
- 1 teaspoon 4.6g baking soda
- ½ teaspoon ground cinnamon
- 2 cups 488g non-fat (skim) milk
- 2 tablespoons 30g apple cider vinegar
- 2 large eggs
- ¼ cup 80g pure maple syrup
- ¼ cup 54g canola oil or vegetable oil
- 2 teaspoons 8.4g pure vanilla extract
Instructions
- Create the “Buttermilk”: In a medium-sized bowl or large liquid measuring cup, combine the non-fat milk and apple cider vinegar. Stir briefly and set aside for 5 to 10 minutes to allow the milk to curdle slightly. This acidity is crucial for activating the baking soda and tenderizing the batter.
- Whisk Dry Components: In a large mixing bowl, combine the whole wheat flour, ground flaxseed meal, sodium-free baking powder, baking soda, and cinnamon. Whisk thoroughly to aerate the flour and ensure the leavening agents are evenly distributed.
- Prepare Wet Ingredients: Once the milk mixture has thickened, add the eggs, maple syrup, canola oil, and vanilla extract to the liquid. Whisk vigorously until the eggs are fully broken down and the mixture is smooth.
- Form the Batter: Pour the wet ingredients into the dry ingredients. Using a spatula, gently fold the mixture together until just combined and no dry streaks of flour remain. Do not overmix; the batter should look slightly lumpy. Let the batter rest for 5 to 10 minutes to fully hydrate the whole grains.
- Heat the Griddle: Preheat an electric griddle to 375°F (190°C) or heat a non-stick skillet over medium heat. The surface is ready when a drop of water sizzles and evaporates immediately. Lightly brush with a small amount of oil if necessary.
- Cook the Pancakes: Pour approximately ⅓ cup of batter per pancake onto the hot surface. Cook for 2 to 3 minutes, or until bubbles appear on the surface and the edges look set.
- Flip and Finish: Carefully flip the pancakes and cook for another 1 to 2 minutes on the second side until golden brown and cooked through.
- Serve: Serve warm, ideally topped with fresh fruit such as sliced bananas, strawberries, or blueberries.
Notes
Sodium-Free Baking Powder: This ingredient is essential for keeping the sodium content low. It is typically found in the baking aisle or health food section and uses potassium bicarbonate instead of sodium bicarbonate.
Storage: Store leftovers in an airtight container in the refrigerator for up to 3 days.
Freezing: To freeze, allow pancakes to cool completely, then stack them with parchment paper between each layer to prevent sticking. Store in a freezer-safe bag for up to 2 months. Reheat in a toaster or oven for best texture.
Nutrition Facts (per serving, 2 pancakes): Calories: 275 kcal | Total Fat: 10.5 g (Saturated Fat: 1 g) | Sodium: 235 mg | Potassium: 540 mg | Total Carbs: 37 g (Fiber: 4 g, Sugars: 11 g) | Protein: 9 g | Calcium: 100 mg | Magnesium: 65 mg
These values are approximate and may vary based on ingredients and preparation.
Nutrition
- Calories: 275
I hope these pancakes bring a little extra joy to your morning routine! There is something so satisfying about enjoying a stack that tastes this good and makes you feel great, too. Disclaimer: I’m just a mom sharing what works for my family, not a nutritionist. Always listen to your own body (and your doctor) when trying new dietary changes!
Was this helpful?")
")
