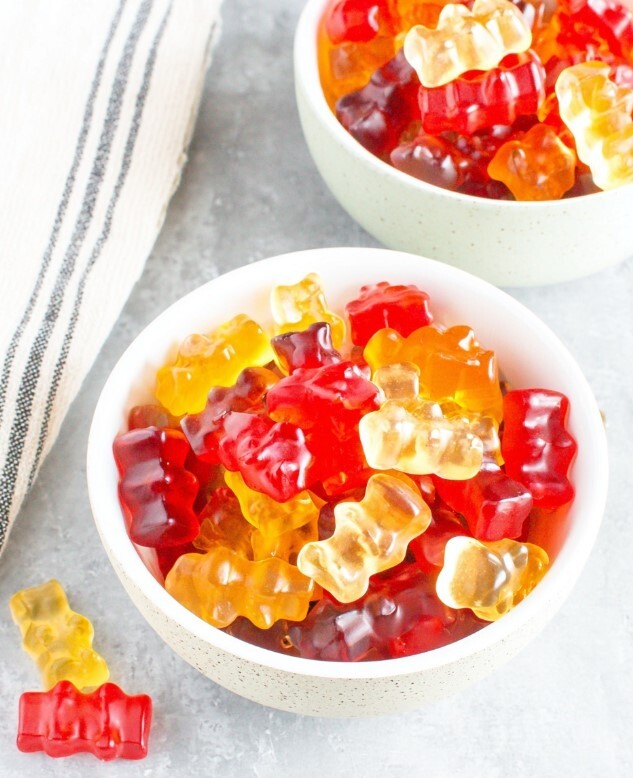
3-Ingredient Keto Gummy Bears Recipe for a Sweet, Chewy Snack
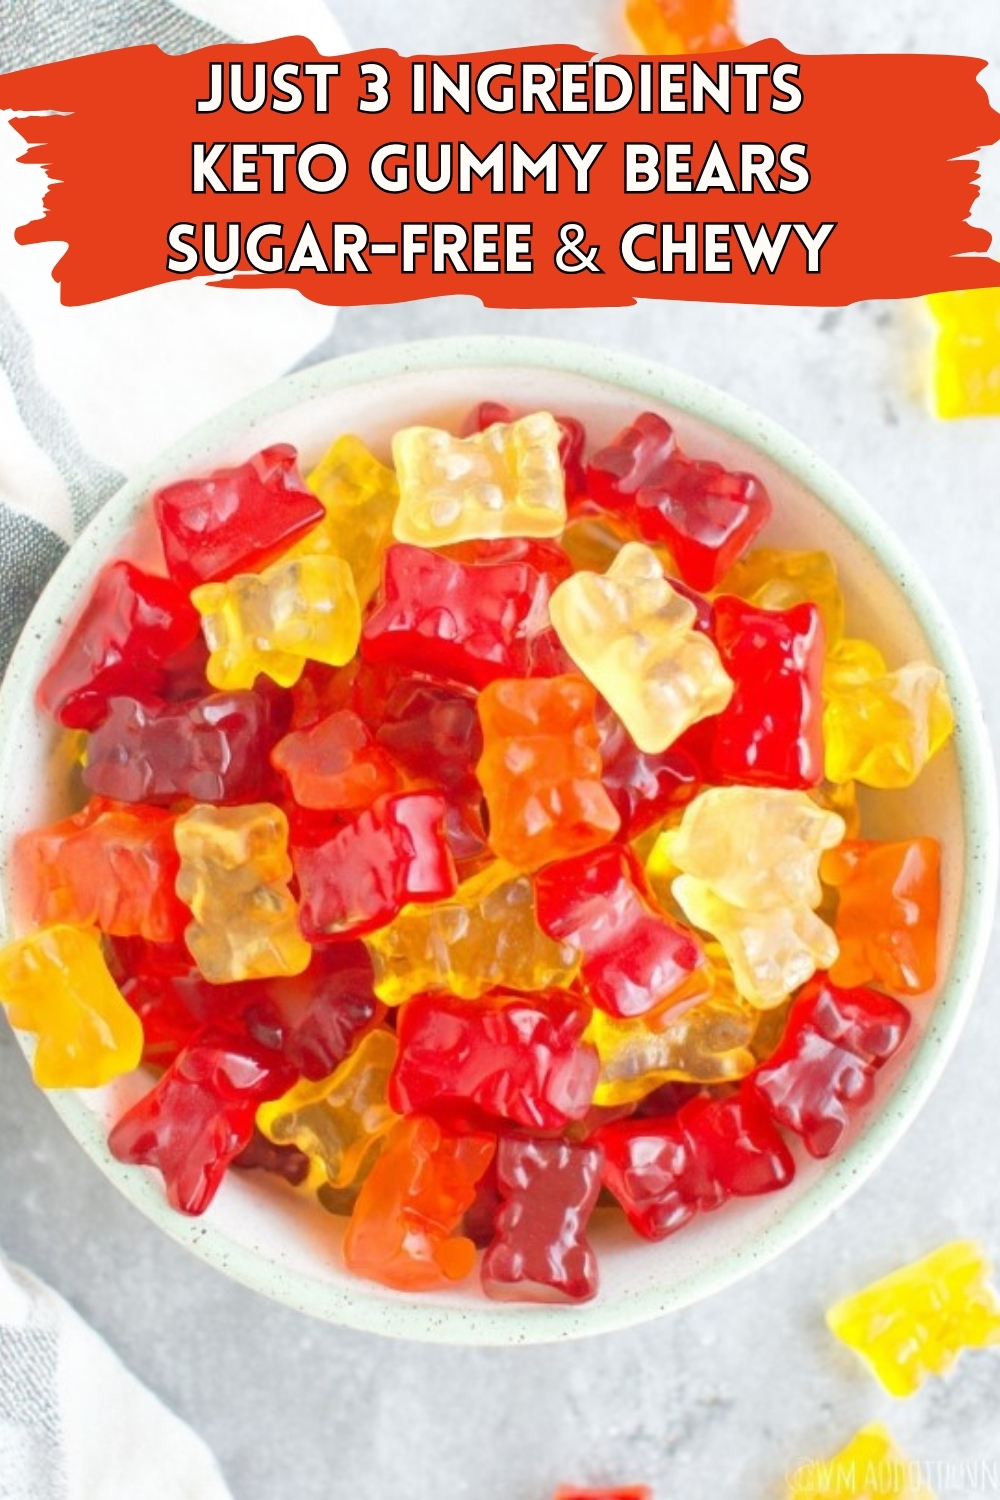
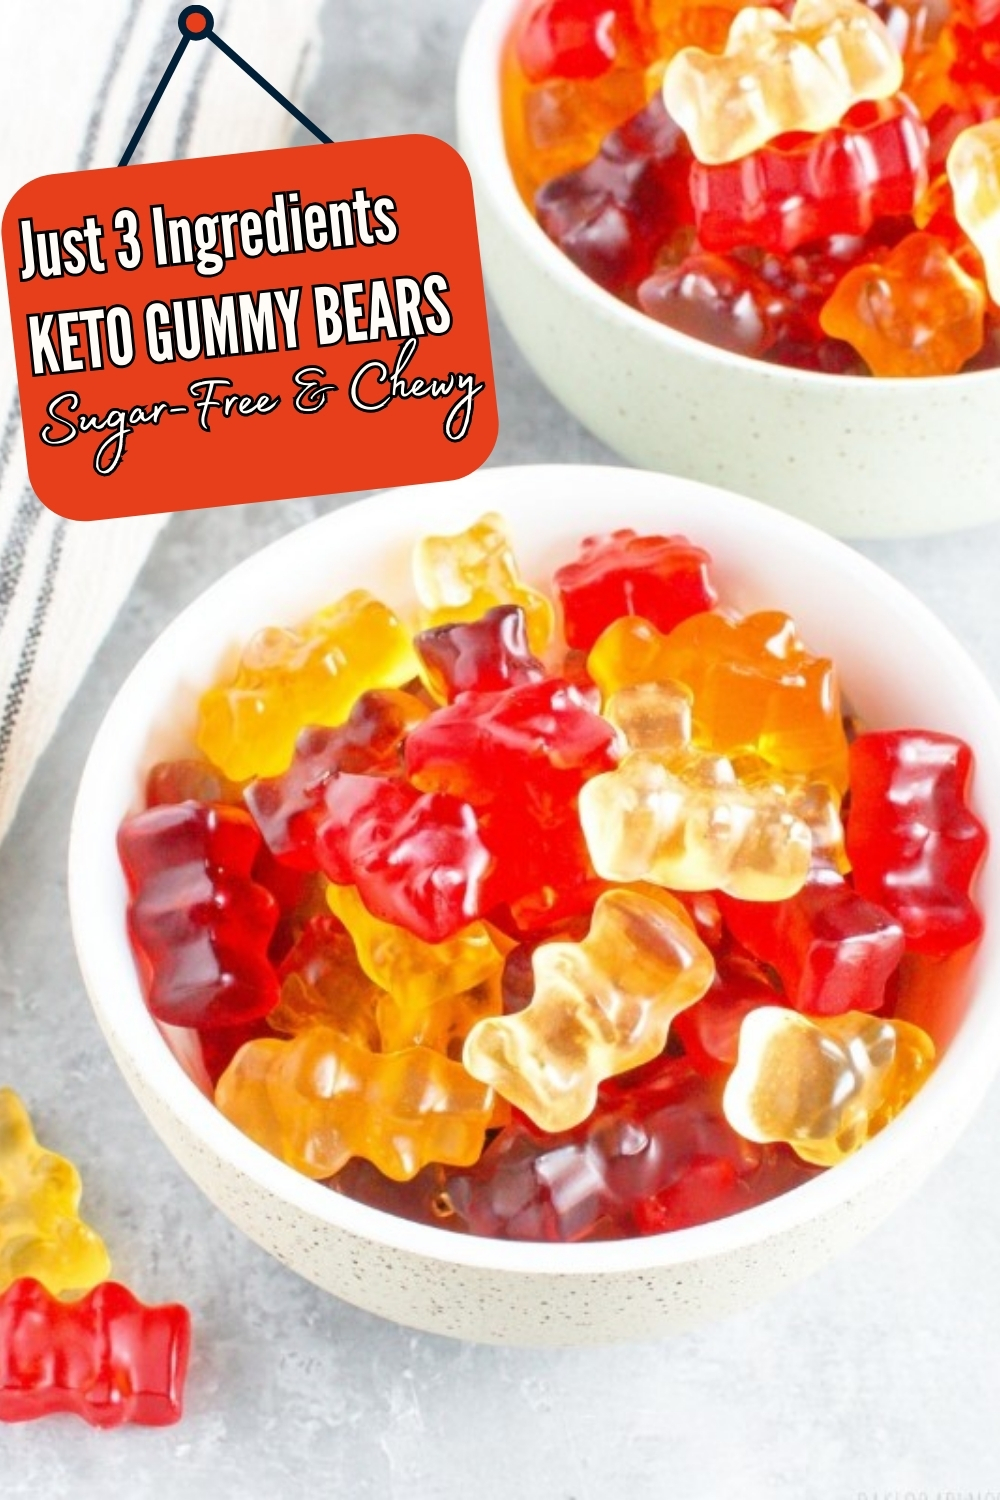
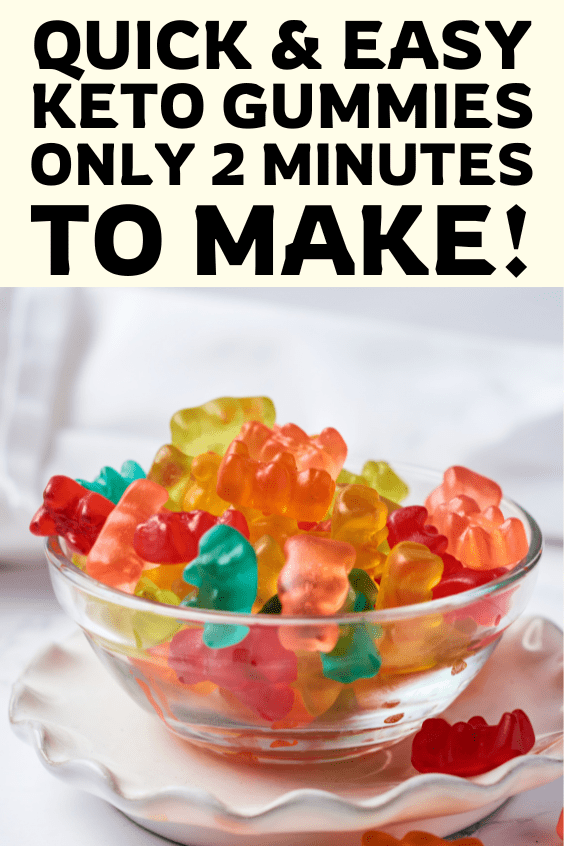
Tired of wobbly, weak gelatin? This keto gummy bears recipe uses a double-strength mix to ensure a firm, commercial-style texture. Bite down on a playful, fruity gem that actually fights back, delivering a perfectly dense, springy squish in every single mouthful.
Why This Recipe Rocks
- The Perfect “Chew” FactorBy doubling down on unflavored gelatin, these gummies achieve a firm, authentic texture. You won’t get that wobble associated with standard dessert gelatin; instead, you get a candy that fights back a little when you bite it.
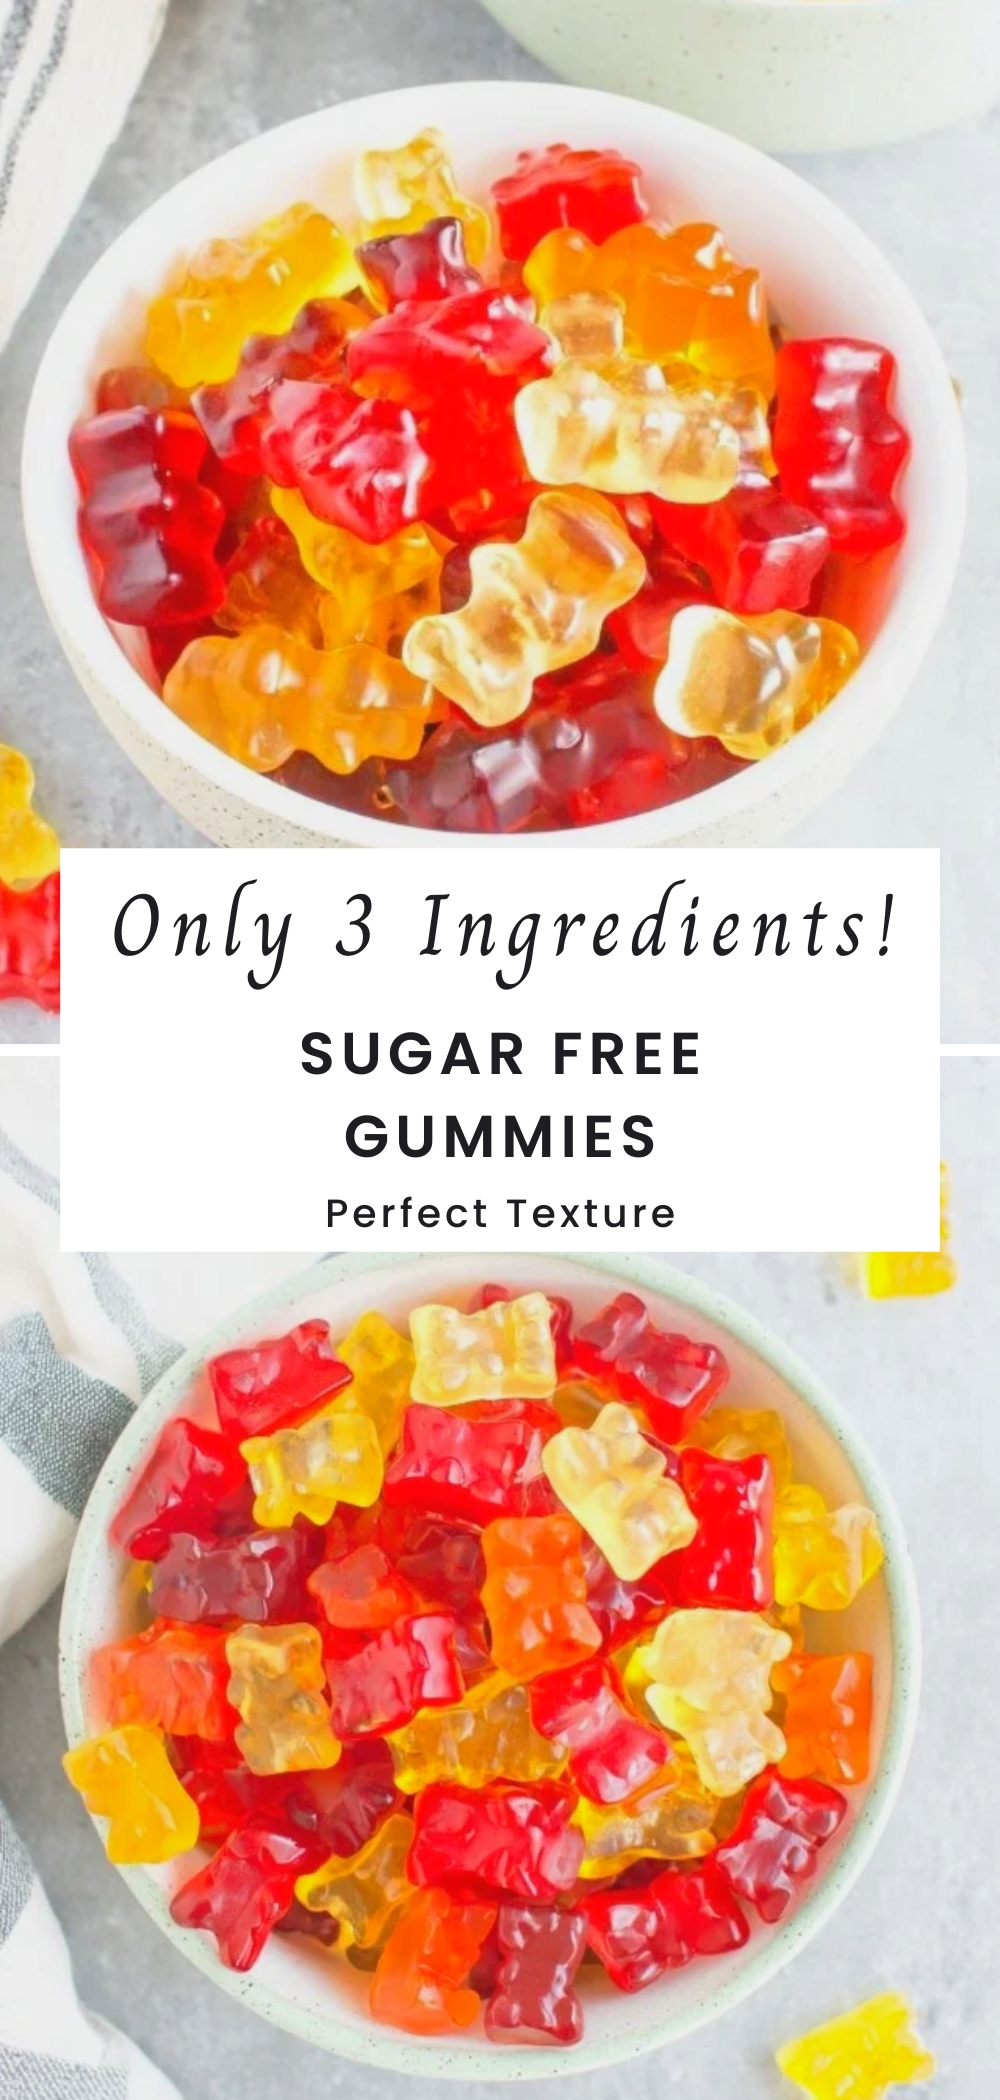
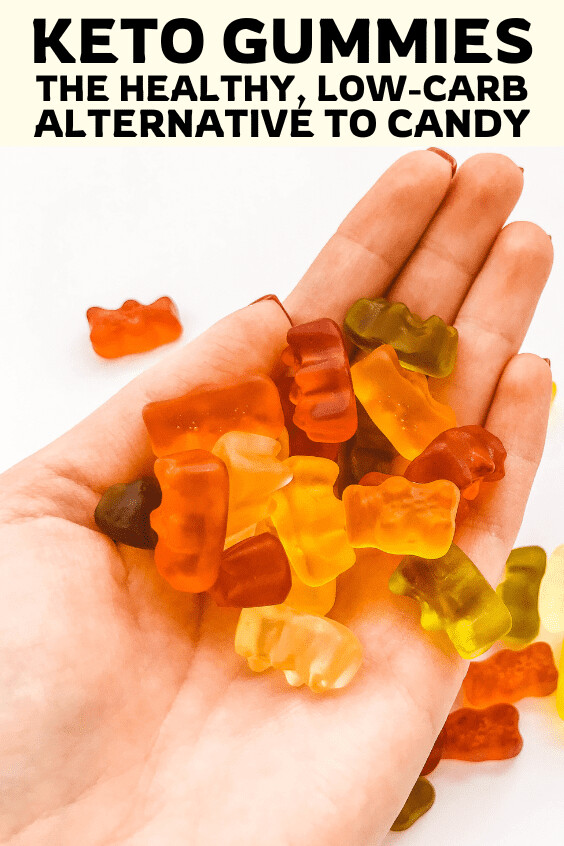
- Pantry Staple MagicThere is no need for expensive sweeteners or hard-to-find thickeners. This method uses ingredients you likely already have in your cupboard, making it one of the most accessible easy keto snacks around.
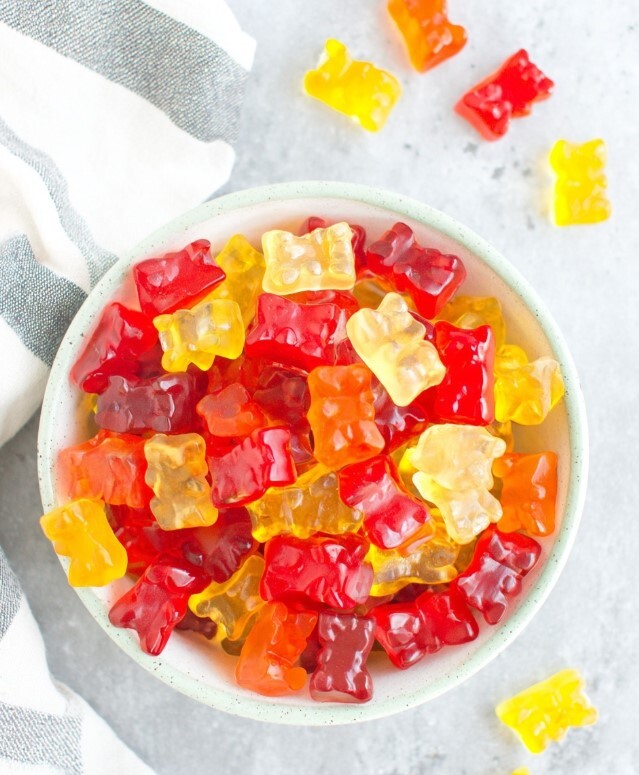
- Flavor FreedomBecause the base uses standard sugar-free flavored gelatin, the flavor possibilities are endless. From strawberry to lime, you can customize the color and taste to match whatever mood you are in.
The Secret to Perfect Low Carb Gummies
When you start exploring a low-carb lifestyle, finding snacks that feel “fun” can be a challenge. I realized early on that texture is just as important as taste. These gummies rely on a specific ratio of unflavored gelatin to flavored mix.
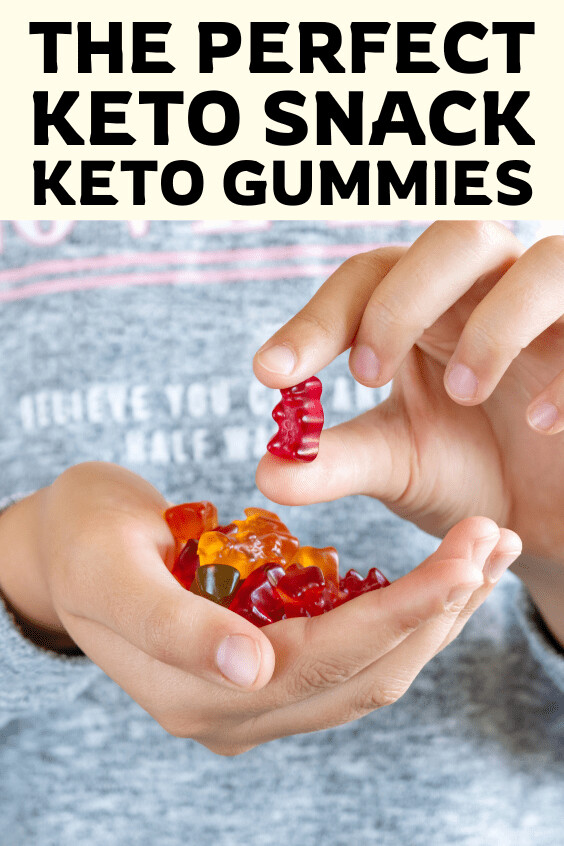
The unflavored gelatin acts as the structural powerhouse. It transforms what would normally be a soft dessert into a durable, finger-friendly snack. This makes them a fantastic option for movie nights or a midday pick-me-up.
If you are just starting out and looking for more ways to structure your eating habits, you might find my guide on the Keto Kickstart incredibly helpful for planning your week.
How to Make Your Own Candy
Making candy sounds intimidating, but this process is incredibly straightforward. It starts by whisking your dry powders together in a bowl. This crucial step prevents those annoying little clumps of unflavored gelatin from forming later.
Once you pour in the boiling water, the key is vigorous whisking. You want a crystal-clear liquid. If you see a layer of foam rise to the top, simply skim it off with a spoon. This ensures your final bears look like jewels rather than cloudy blobs.
Using a dropper to fill the molds is actually quite therapeutic. Just work efficiently, because this mixture sets much faster than regular gelatin! After a short stint in the fridge, they pop right out, ready to eat.
Expert Tips for the Best Results
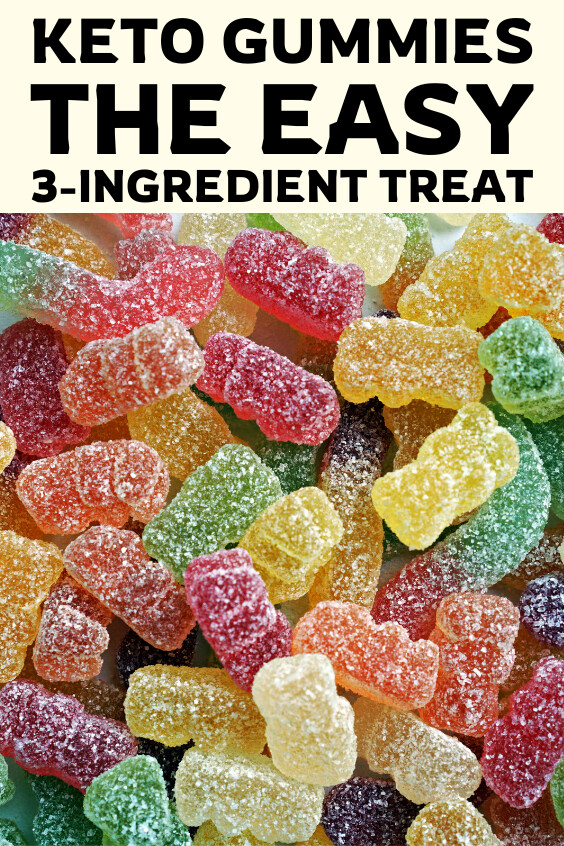
- The “Sour Patch” Twist: If you miss sour candy, this is for you. Mix a little citric acid with a granular sweetener substitute. Toss your finished gummies in this “dust” right before serving for an electric, lip-puckering kick.
- Firmness Control: If you prefer a softer gummy, slightly reduce the unflavored gelatin. However, for that authentic commercial gummy feel, stick to the recipe as written.
- Mix and Match: Make a big batch of different flavors for a colorful bowl. If you have a sweet tooth but need to watch your sugar intake, you can also check out these delicious diabetic desserts for more inspiration.
Common Questions About Keto Gummies
Can I leave these out on the counter?
Yes, these are formulated to be stable at room temperature thanks to the extra gelatin. However, I personally prefer the texture when they are kept cold in the fridge—they are just a bit snappier and more refreshing.
What if I don’t have a gummy bear mold?
No problem at all. You can pour the mixture into a shallow square dish (like a glass tupperware). Once it sets, simply slice it into small cubes with a knife. They taste exactly the same!
Is the citric acid necessary?
Not at all. The citric acid is strictly for those who love sour candy. If you prefer a sweet fruit snack, you can skip that ingredient entirely.
PrintPerfect 3-Ingredient Keto Gummy Bears
These chewy, vibrant gummies are the ultimate low-carb hack for satisfying a candy craving. Using just three simple pantry staples, you can create a sugar-free treat that rivals store-bought versions. For an American twist, try the optional “sour dust” coating to mimic classic sour patch candies without the carbs.
- Prep Time: 5 minutes
- Total Time: 35 minutes
- Yield: 2 servings 1x
- Category: Snack / Dessert
- Cuisine: American
Ingredients
- 2 envelopes unflavored gelatin powder (Knox or similar) (approx. 14g)
- 1 package (0.3 oz) sugar-free flavored gelatin mix (such as Jell-O brand, any flavor) (approx. 8.5g)
- 1/3 cup water (brought to a rolling boil) (80 ml)
- 1/4 tsp citric acid or vitamin C powder (Optional: adds a sour kick)
Instructions
- Prepare the molds: Place your silicone gummy bear molds on a stiff baking sheet or cutting board. This ensures you can move them to the refrigerator without spilling once filled.
- Combine dry ingredients: In a small heat-proof mixing bowl, whisk together the unflavored gelatin powder and the sugar-free flavored gelatin mix. Tip: Whisking the dry powders together first prevents clumps from forming when the water is added.
- Dissolve gelatin: Pour the boiling water directly over the powder mixture. Whisk vigorously and continuously for about 1-2 minutes until the granules are completely dissolved and the liquid is clear. If the mixture creates foam on top, let it sit for a minute and skim the foam off with a spoon for clearer gummies.
- Fill molds: Using a liquid dropper or a pipette, carefully transfer the hot mixture into the mold cavities. Work relatively quickly, as the high gelatin content causes the mixture to set faster than regular Jello.
- Chill and set: Transfer the baking sheet with the molds to the refrigerator. Allow them to set for at least 30 to 40 minutes.
- Unmold and serve: Once firm, pop the gummies out of the molds.
- Variation Step: If using the optional citric acid, lightly dust the finished gummies with it right before serving for a sour candy experience.
Notes
- Texture Check: These gummies are much firmer than standard dessert gelatin due to the high ratio of unflavored gelatin. This allows them to stay solid at room temperature.
- Safety Note: Be very careful when handling the boiling water and the hot gelatin mixture to avoid burns.
- Storage: Store in an airtight container in the refrigerator for up to 2 weeks. They can also be frozen for long-term storage (up to 6 months).
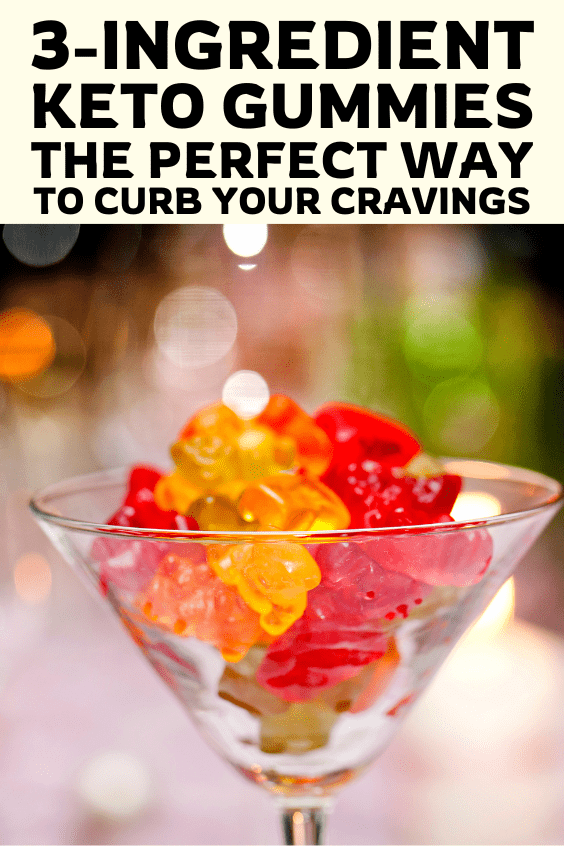
- Batch Sizing: This recipe is for a single flavor batch. To make multiple flavors like the original photo, simply repeat the process with different boxes of sugar-free gelatin.
- Allergy Alert: Check your gelatin packaging; while naturally gluten-free, some facilities may process wheat. This recipe contains no dairy, nuts, or eggs.
Nutrition Facts (per serving): Calories: 45 kcal | Total Fat: 0 g (Saturated Fat: 0 g) | Cholesterol: 0 mg | Sodium: 110 mg | Total Carbs: 1 g (Fiber: 0 g, Sugars: 0 g, Net Carbs: 1 g) | Protein: 6 g
These values are approximate and may vary based on ingredients and preparation.
I hope these little bears bring a bit of fun back into your snacking routine. It is amazing how a simple kitchen experiment can satisfy a craving that feels so specific. Remember, these are just my kitchen adventures—always chat with your doctor or nutritionist for personalized tips!
Was this helpful?
")
