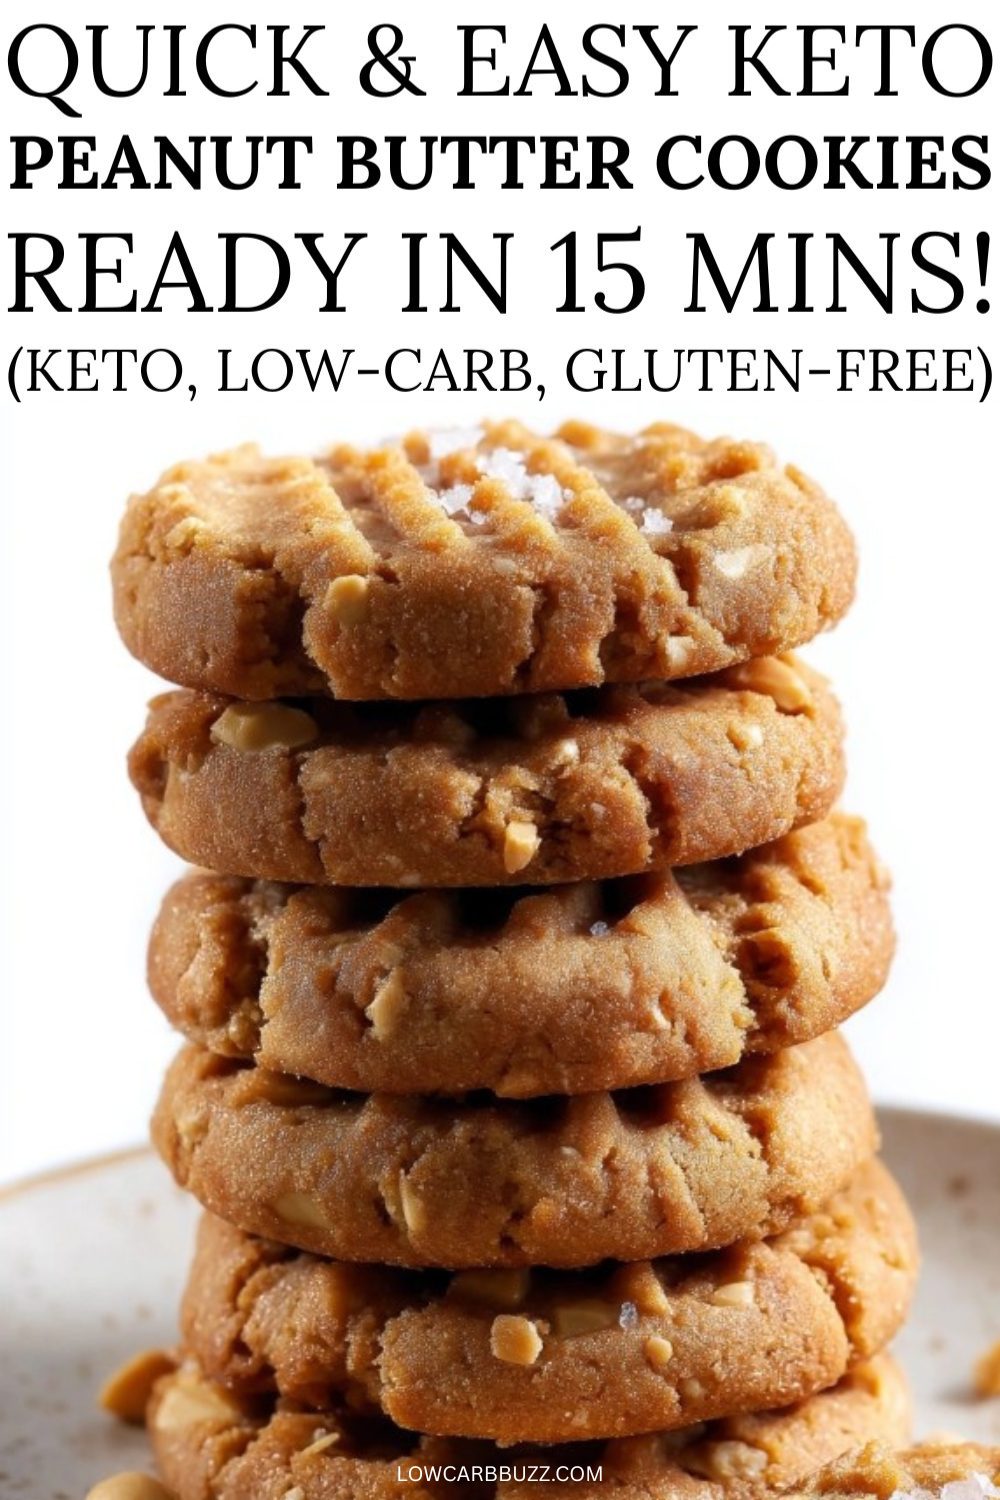
Soft & Chewy Keto Peanut Butter Cookies (Only 5 Ingredients!)
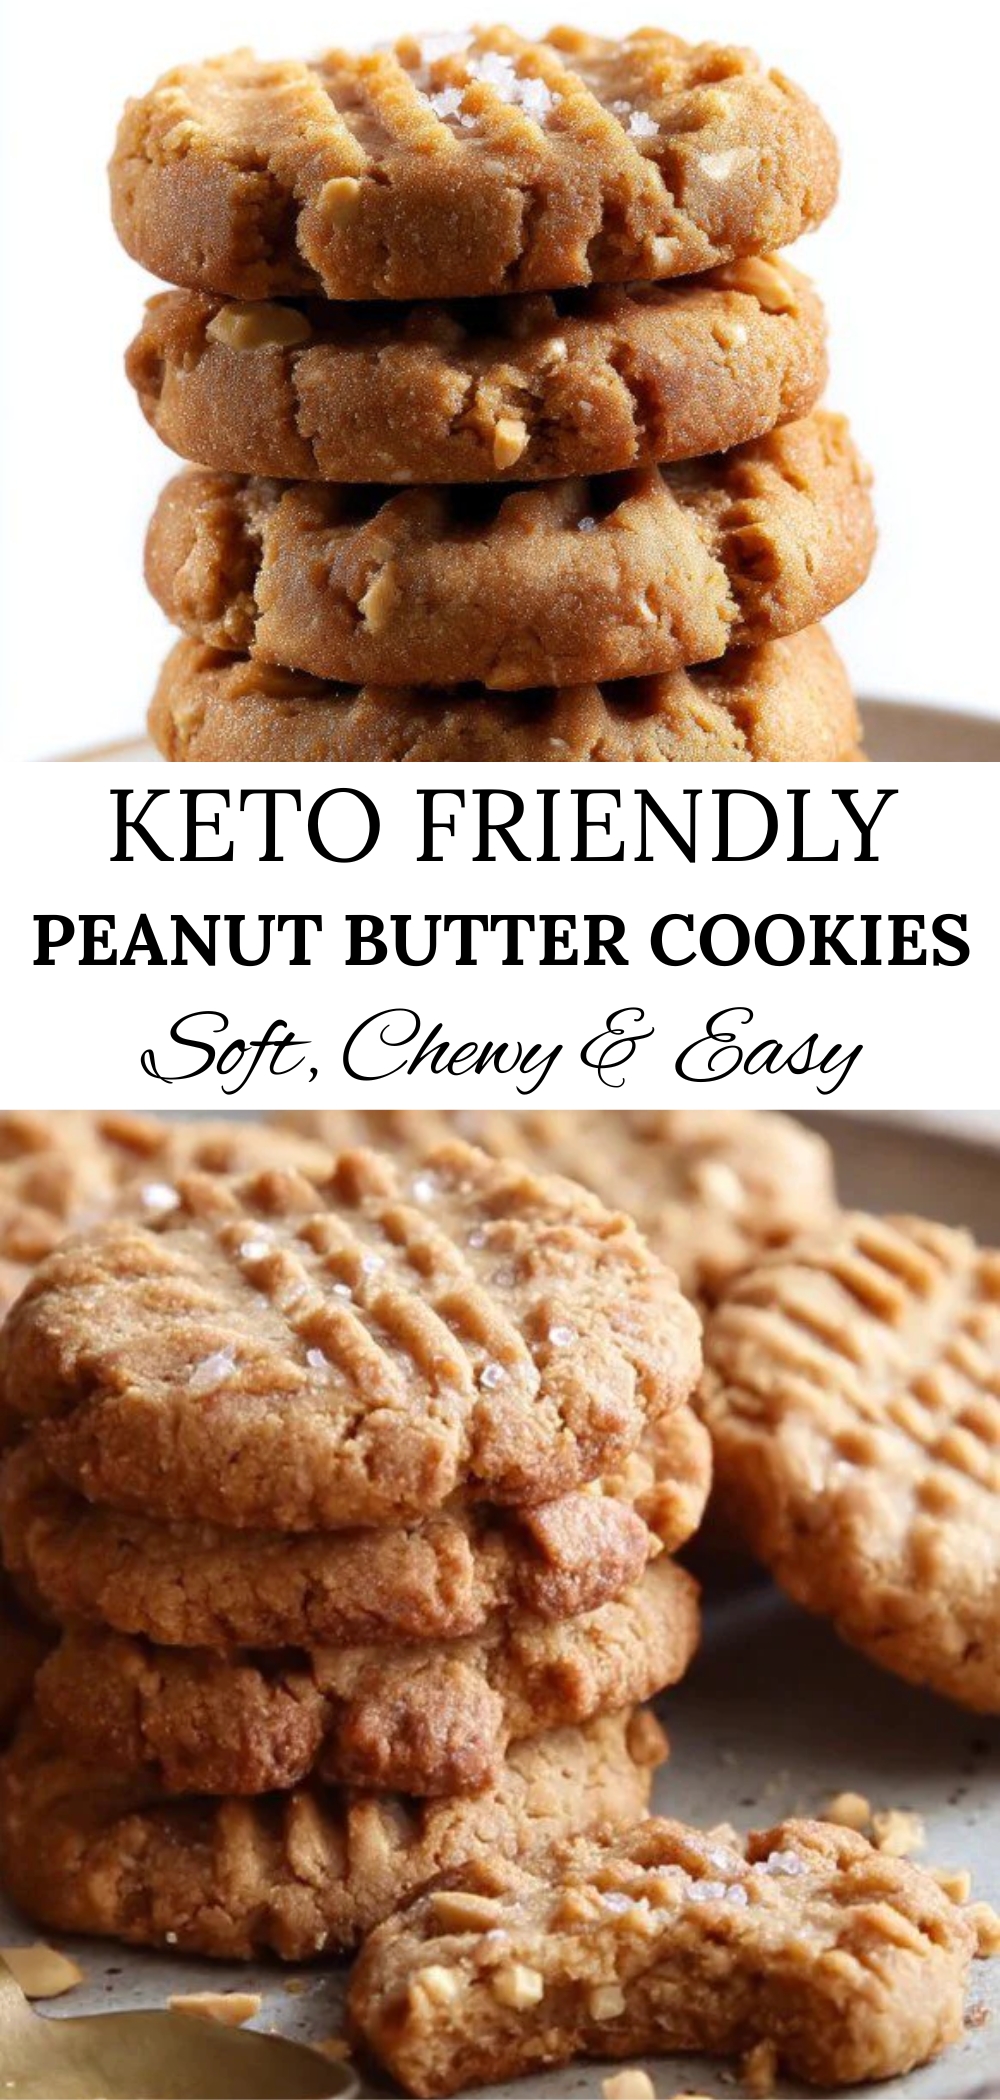
Most low-carb sweets crumble into dust. These flourless Keto Peanut Butter Cookies rely on creamy fats to bind, not dry fillers. Savor a tender, buttery crumb that dissolves instantly on your tongue, delivering intense roasted peanut richness with just five simple ingredients.

Why This Recipe Rocks
- Zero Flour, All Flavor: By removing almond or coconut flour entirely, the peanut butter takes center stage for an intense, undiluted nutty taste that feels decadent, not diet.
- The Perfect Crumb: The egg provides just enough structure to keep the cookie soft and chewy, avoiding that dry, sandy texture that often plagues gluten-free baking.
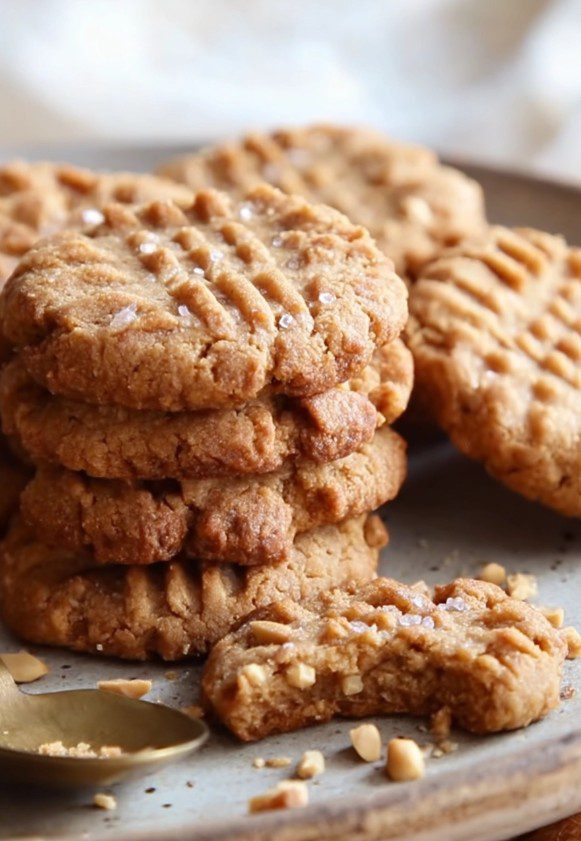
- Salt Enhances Sweetness: A pinch of coarse sea salt isn’t just a garnish; it cuts through the richness and makes the low-carb sweetener taste more natural and less chemically.
Smart Snacking & Lifestyle Fit
As someone who refuses to eat boring food, I love that these cookies are “fat-focused.” Because they are packed with healthy fats and protein from the peanuts and eggs, they are incredibly satiating. Unlike a sugary cookie that leaves you reaching for another five minutes later, one of these rich treats keeps me satisfied for hours.
It’s a fantastic option if you need a grab-and-go snack that won’t spike your energy levels. For a complete afternoon pick-me-up, I love pairing one of these with a glass of almond milk or even a Keto Low Carb Smoothie With Almond Milk. It feels like a cheat day, but it’s actually fueling your body.
Mollie’s Tips for Perfect Cookies
- The Cooling Rule: This is the most critical step. When these cookies come out of the oven, they are incredibly fragile. Do not touch them until they are completely cool. They firm up as they sit, transforming from soft dough into a stable, chewy cookie.
- Sweetener Swaps: I use erythritol because it mimics the crunch of sugar, but you can use monk fruit blends too. Just be aware that allulose might make them softer.
- The Fork Trick: To get that classic look without sticking, dip your fork in water before pressing the cross-hatch pattern. It keeps the lines sharp and clean.
- Craving Variety? If you prefer a buttery vanilla vibe over peanuts, check out my Keto Shortbread Cookies.
Common Questions
Can I use natural peanut butter?
Yes, but be careful with the oil. Make sure the jar is well-stirred. If the peanut butter is too runny, the dough might spread too much. I usually keep my jar in the fridge for an hour before baking to firm it up.
Why are my cookies crumbling?
This usually happens if they were moved while hot. They need that cooling time on the baking sheet to “set.” It could also mean the peanut butter was too dry—try adding a tiny splash of oil next time.
Simple & Delicious Keto Peanut Butter Cookies
Discover your new favorite guilt-free treat! These Low Carb Keto Peanut Cookies are incredibly easy to make, require only a few simple ingredients, and bake in minutes. Naturally gluten-free and packed with peanut butter flavor, they’re perfect for satisfying sweet cravings while sticking to your low-carb or ketogenic lifestyle.
- Prep Time: 5 minutes
- Cook Time: 10 minutes
- Total Time: 15 minutes
- Yield: 18 cookies 1x
Ingredients
- 7/8 cup Crunchy Peanut Butter (approx. 225g – Use a brand containing 100% peanuts, with no added sugars or oils, for best results and lowest carbs.)
- Scant ½ cup Granulated Low-Carb Sweetener (approx. 90g – Equivalent to sugar in sweetness. Erythritol or an erythritol blend works well here.)
- 1 Large Egg
- ½ teaspoon Vanilla Extract
- Pinch Fine Sea Salt (approx. 1/8 tsp)
Instructions
- Preheat & Prep: Set your oven to 350°F (180°C). Line a standard baking sheet with parchment paper or a silicone mat to prevent sticking.
- Combine Ingredients: In a medium-sized mixing bowl, add the crunchy peanut butter, granulated low-carb sweetener, large egg, vanilla extract, and the pinch of sea salt.
- Mix Dough: Stir the ingredients together thoroughly using a fork or sturdy spatula. Continue mixing until a uniform, cohesive dough forms. The mixture will be thick.
- Portion Dough: Using your hands or a small cookie scoop, portion the dough into 18 small spheres, each weighing roughly 20 grams.
- Shape Cookies: Arrange the dough spheres on the prepared baking sheet, ensuring there’s some space between them for even baking. Gently press down on each sphere with the palm of your hand or the flat bottom of a glass to flatten it into a cookie shape.
- Create Pattern: For the signature look, dip the tines of a fork into a small amount of water (this prevents the dough from sticking to the fork). Press the damp fork onto the top surface of each cookie. Rotate the fork 90 degrees and press down again to create a classic criss-cross pattern.
- Bake: Place the baking sheet into the fully preheated oven on a center rack. Bake for 9 to 11 minutes. For cookies with a slightly softer center, aim for the 9-minute mark. For a crisper, firmer cookie throughout, bake closer to 11 minutes. The edges should appear set and lightly golden brown.
- Cool Completely: Carefully remove the baking sheet from the oven. It’s crucial to let the cookies cool completely on the baking sheet before attempting to move them. They are very fragile when hot but will firm up considerably as they cool down (this can take 20-30 minutes).
Notes
Store: Once fully cooled, store the Golden Peanut Cookies in an airtight container at room temperature. They should keep well for several days.
Nutrition Facts (per cookie): Calories: 79 kcal | Protein: 3.5 g | Total Fat: 6.5 g (Saturated Fat: 1.3 g) | Total Carbs: 7.5 g (Fiber: 1.1 g, Sugars: 0.6 g, Sugar Alcohols: 5 g, Net Carbs: 1.5 g) | Sodium: 22 mg
These values are approximate and may vary based on ingredients and preparation. Sugars are from peanut butter and egg. Sugar alcohols based on using erythritol.
Final Word
These keto peanut butter cookies are a staple in my home because they bridge the gap between “healthy” and “comfort.” They are proof that you don’t need gluten to enjoy a classic American treat. Whether you make them for a party or just to keep in the jar for emergencies, I hope they bring a little sweetness to your day.
Note: These are just my kitchen adventures—chat with your doctor or nutritionist for personalized tips, especially regarding specific dietary needs!
- Save for Later4.0K
")
")

I swapped the erythritol for a golden monkfruit blend I had in the pantry, and it gave these such a nice, warm flavor! I was super worried they were too soft right out of the oven, but I followed your advice to let them sit on the pan for the full 30 minutes and they firmed up perfectly. Great with my morning coffee!
Ooh, I bet that golden sweetener added such a dreamy depth to them! 🤤 You are spot on about the patience part waiting is the hardest step, but it is totally worth it for that perfect texture. So glad they made your morning a little cozier!
Just made a batch of these last night and wow the peanut butter smell while they were baking was unreal! They came out with those perfect crispy edges and that nice chew in the middle from the crunchy PB. My husband kept sneaking extras. Quick question: do they freeze well? I’d love to double the recipe and keep some stashed for busy weeks.
Emily, that bakery-level peanut butter aroma is seriously addictive, isn’t it?! ❤️ So happy they were a hit (and that your husband couldn’t resist—total win!). Yes, these freeze beautifully just pop the cooled cookies in a freezer bag or airtight container and they’ll stay perfect for weeks. Pull one out whenever that craving hits and enjoy that same crispy-chewy magic, totally guilt-free!