Fluffy Keto Coconut Mounds: The Ultimate Low Carb Coconut Dessert Recipe

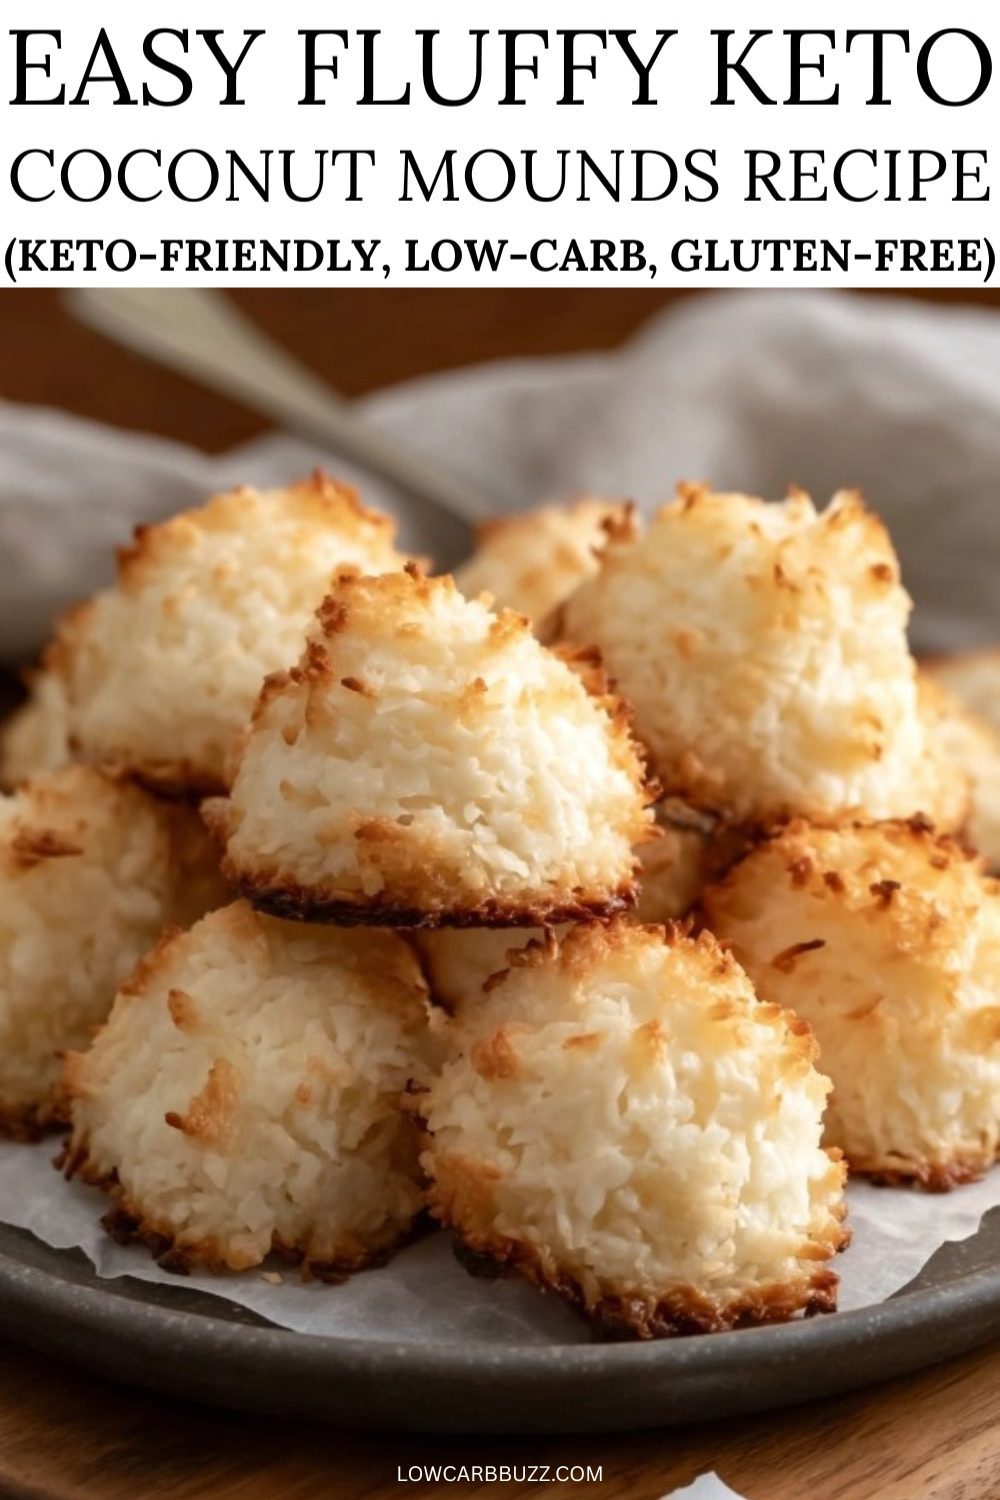
Ditch dense, heavy sweets for these airy keto coconut mounds that rely on whipped egg whites for serious lift. Each bite creates a shattering crispness before melting into a soft, vanilla-scented center that feels like pure bakery bliss.

Why These “Clouds” Are a Kitchen Win
- Cloud-Like Texture
By whipping the egg whites to stiff peaks, we trap air inside the batter. This ensures you get fluffy keto coconut treats that melt in your mouth, rather than dense, heavy cookies. - Pantry Staple Magic
You likely have everything you need right now. There is no hunting for obscure ingredients here—just pure sugar free coconut mounds bliss made from basics you already own. - The “Toasted” Factor
The shredded coconut toasts to a nutty, caramelized finish in the oven. This creates a depth of flavor that mimics high-sugar desserts without the actual sugar crash.
The “Comfort Food Hacker” Approach
As a “kitchen investigator,” I am always looking for ways to make snacks that feel indulgent but actually serve a purpose. I love food too much to eat things that taste like cardboard.
The beauty of this recipe lies in the unsweetened shredded coconut. It is packed with healthy fats and fiber, making these mounds surprisingly filling. I feel much more satisfied after eating one of these than I do after a sugary store-bought cookie.
It’s a fantastic low carb coconut dessert recipe for anyone watching their sugar intake, whether you are keto or just trying to be mindful.
If you are looking for other crunchy, satisfying options to keep on hand, you might love my Keto Granola for a morning boost.
Making the Mounds: A Sensory Guide
The process is incredibly fast, but the technique matters. You start by beating the egg whites. You want them to go from foamy to glossy and stiff.
Once you fold in the sweetener and vanilla, the kitchen starts to smell like a bakery. Then comes the star ingredient: the coconut.
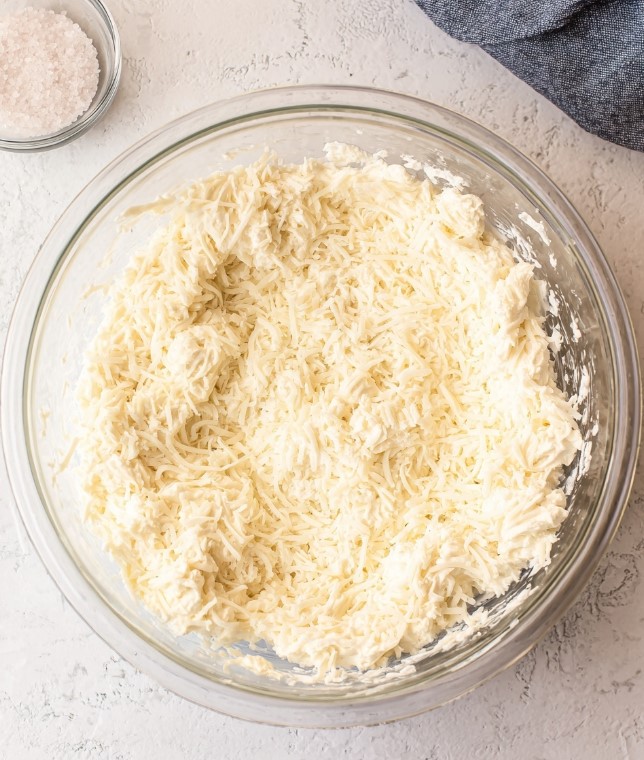
Gently fold the coconut in until just combined. You want to keep all that beautiful air you just whipped into the eggs. Scoop them onto your baking sheet—I like using a cookie scoop for even browning.
Bake them until they are lightly golden and fragrant. Keep an eye on them during the last few minutes; coconut loves to go from “perfectly toasted” to “burnt” very quickly!
Tips for the Perfect Bite
- The Cooling Rule: These come out of the oven soft. Let them cool completely on the pan. This is when the magic happens—they firm up and get that irresistible crispy exterior.
- Chocolate Lover? Dip the bottoms in sugar-free dark chocolate for a homemade candy bar vibe. If you are a fan of chocolate and nut butter combos, check out my Velvety Peanut Butter Choco-Bites.
- Make It Zesty: A tiny grating of lime zest folded into the batter makes these taste like a tropical vacation.
Common Questions
Why did my mounds spread out flat?
This usually happens if the egg whites weren’t whipped enough or if the mixture was over-mixed. Make sure your peaks are stiff and glossy before folding in the coconut.
Can I freeze these?
Absolutely! They freeze beautifully for up to 6 months. I actually love eating them straight from the freezer—they have a chewy, candy-like texture that is amazing on a hot day.
Is this recipe suitable for beginners?
Yes! It is one of the easiest recipes to start with if you are new to low-carb baking. If you are just starting your journey and want to understand the numbers behind the food, you might find my guide on Mastering Macros really helpful.
PrintFluffy Coconut Mounds (Low-Carb, Keto-Friendly)

These light, airy coconut mounds are simple and satisfying. Made with a few ingredients, they are a grain-free, no-added-sugar treat sweetened with a keto-friendly sweetener.
- Prep Time: 7 minutes
- Cook Time: 15 minutes
- Total Time: 22 minutes
- Yield: 18 mounds 1x
- Category: Dessert
Ingredients
- 6 large egg whites (at room temperature)
- 3 tablespoons granulated erythritol (or a keto-friendly granulated sweetener, like a monk fruit blend)
- 3 cups unsweetened shredded coconut
- 1 teaspoon vanilla extract
- 1/4 teaspoon salt
Instructions
- Preheat oven to 350°F (180°C). Line a baking sheet with parchment paper.
- In a large, clean, grease-free bowl, beat egg whites on medium-high speed until soft peaks form.
- While beating, gradually sprinkle in the sweetener. Increase to high speed and beat until glossy, thick, stiff peaks form.
- Add shredded coconut, vanilla extract, and salt. Gently fold just until combined.
- Portion into 18 mounds, about 3 tablespoons each, spaced about 1 inch apart on the baking sheet.
- Bake 12 to 15 minutes, until set and lightly golden. Watch closely near the end as coconut browns quickly.
- Cool completely on the baking sheet (set on a wire rack) before moving, as they firm up as they cool.
Notes
- Storage: Store completely cooled mounds in an airtight container at room temperature for up to 5 to 7 days. Refrigerate for longer storage, up to 2 weeks.
- Freezing: Freeze in a single layer in a freezer-safe container or bag for up to 6 months. Thaw at room temperature before serving.
Nutrition Facts (per mound): Calories: 94 kcal | Protein: 2 g | Total Fat: 8.6 g | Total Carbs: 5.2 g (Fiber: 2.1 g, Net Carbs: 1 g) | Sodium: 56 mg
These values are approximate and may vary based on ingredients and preparation.
Nutrition
- Calories: 94
Final Thoughts
These keto coconut mounds have become a staple in my home because they are just so easy. They prove that you don’t have to give up the textures and flavors you love just to stay on track. Whether you have them with your morning coffee or as a late-night treat, I hope they bring a little joy to your kitchen.
Remember, these are just my kitchen adventures—chat with your doctor for personalized nutritional tips!
- Save for Later3.4K


